In a few days we will have been in Swan Valley for one year. It seems like two or three. I guess that's a good thing, we really know that we are alive! We often think back to the first farm house we built in 1998-2000. We did that house project in three years. Of course we were working full time then, but when we think back it doesn't seem like it took as long as this build is taking. In reality we expect to finish this house build in an 18 month time span, which is twice as fast as Cloverland Ranch. It just doesn't seem that way right now.
We both look forward to taking occupancy in this house, but truthfully I have not been feeling excited... until today. We took delivery of our bathroom countertops last week, and today we set the tops and installed the bathroom faucets. For whatever reason, I started to feel a little excited today. In the shot below there seems to be a problem with the drain hole...
Oh I see what the problem is now!
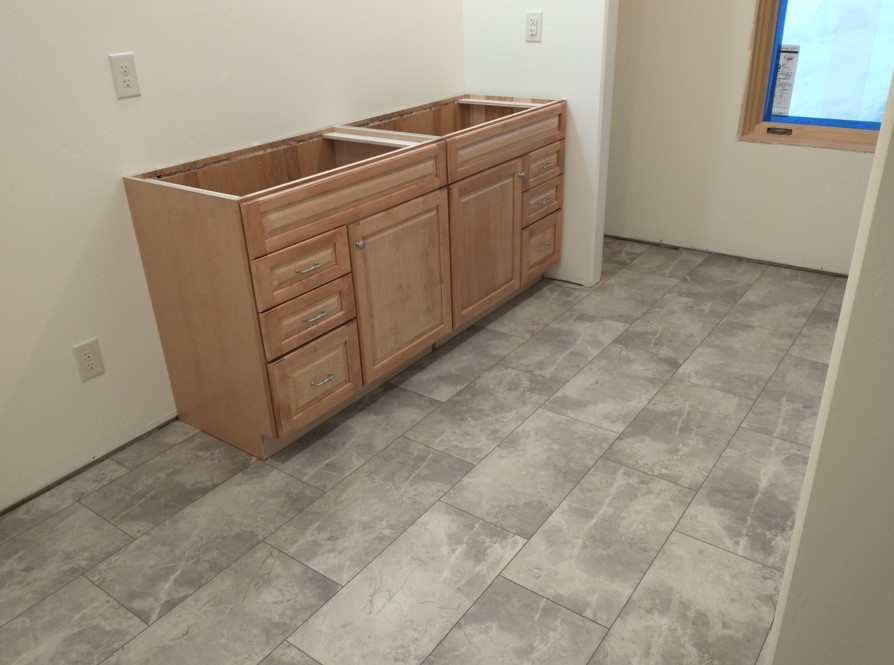
This is the guest bathroom vanity below. We selected the same countertop pattern and style called River Bottom for the Master & Guest Bathrooms. Funny sequence of events with those countertops. We initially designed the bathroom countertops with our kitchen countertop order of solid surface material, Allen Roth from Lowe's. Lowe's subcontractor providing the kitchen countertops called the material Corian, which we had previously in the Cloverland house and we liked it very much. We have another solid surface countertop in our travel trailer of 10 years and we don't care for that material. We don't know what solid surface brand it is, but it stains and retains water marks and therefore we are not as thrilled with that product. We aren't convinced that what we are getting is going to actually be Corian, we suspect the supplier is using that word as many use the word Kleenex, when actually it is a tissue. But I digress...

We spotted a cultured marble counter top, also at Lowe's, primarily intended for bathrooms we think. The price appeared to be much lower than the solid surface m material and it had this dripless edge feature that Gari loves. So we decided to switch to that. We had to modify the original Lowe's kitchen-bath countertop contract, and establish this new one to take care of just the bathrooms. We did all that before we had purchased the flooring, although we had a flooring selected. It was a Travertine pattern that had some red-brown hues in it. Of course when we went to purchase the flooring the Travetine pattern was not available so we had to switch flooring. Then through the course of the bathroom countertop contracting we found that our required dimension precluded us from obtaining the dripless edging. At the finalization of the bathroom countertop contract we think the cultured marble ended up costing us 10-20% more than if we would have continued with the original kitchen-bath combined contract. Now as you can see from the shot above the bathroom countertop looks very similar in color and pattern to the flooring. Not what we had intended. Additionally, these cultured marble countertops are very thick and extremely heavy. To top that off, we had to install them ourselves. Oh well, that sure didn't work out like we were thinking, but there's no stopping us now with all this momentum that we have built up!

Master bathroom double sinks. Mirror needed.
We finished the stain and polyurethane on the master bedroom and bathroom windows sashes and jambs. The casing will go on tomorrow if all goes according to plan.
Gari works on the south picture window. She has that thing sparkling! Now we just need to replace the one next to it that got shot out in December.
All doors are now hung, and most have the casing installed; just a few more to finish off the trim. Gari painted the garage door the same Ballroom Dancing (green hue) that we have on the accent walls in the family room and the guest bedroom.
Most of the interior doors that we purchased were pre-hung; easy peasy
for us. We have three "specialty" doors that we could not get pre-hung,
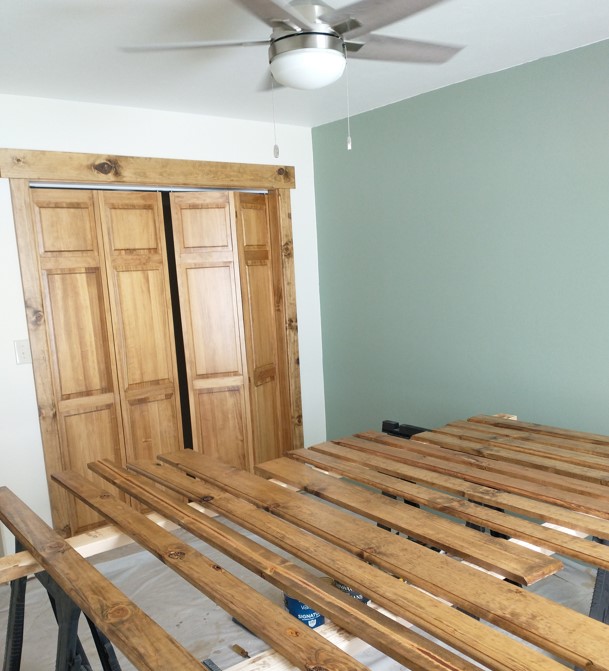
well not for a reasonable price anyway. Below is a by-pass sliding
double door for our coat closet. We had to build up the jambs for these
"specialty" doors. Two things to point out below: In the garage at frame left you can so our replacement picture window for the window that got shot out. Gari has it laying on the floor on stickers so she can stain it. Notice also on the bypass door below you can see the aluminum trolly track at the top of the door. More about that in the next photo.
We thought the trolley track wasn't all that attractive up there, so we manufactured a small veneer valence of sorts to hide the hardware. Gari stained and poly-ed it up and we mounted it in place to hide the trolly track. I am so pleased with that. It's definitely the little things.
Below is "specialty" door #2, the bi-fold doors in the guest bedroom closet. Now I can see the guide track at the top of those doors too! The guest bedroom has become the staining and painting room for now. We don't have any finished floor covering in here yet and this southern room gets the best natural lighting, so it makes it the best for painting work. More casing at last coat phase drying below; they will get installed tomorrow. We turn the fan on when we finish painting to help everything dry good and quickly.
The third "specialty" door below is a double swinging door which is the master bedroom closet. This was the most difficult jamb to build up because of the requirement for door hinges. It was big and very heavy as well, but we got it in place and finished off with much effort.
We have leveled the range up and it is ready to install into its spot once the kitchen countertop guys come out to install next week. We set up the dishwasher and have it leveled and placed in its spot, ready for the countertop to cover. We just finished working with the dishwasher and our tools are still in the floor there. The prep for that particular dishwasher was ridiculous. The installation manual was 68 pages! There were nearly 50 steps to install. We had to take many things apart to access the service connections. We got it done, but it took all morning.
The herd says it is time to go to bed... shouldn't argue with the wisdom of the herd. Tomorrow is another day.
Bonus Pictures and Action Shots!Steve shows the approach to making the door casing fit tightly. Where the drywall protrudes past the door jambs, we removed drywall with the oscillating saw, which made a dusty, chalky mess everywhere...
But it allows the casing to fit tight with no gaps.
Setting the finish nails... no nail guns here for us old fashioned folks.
Gari completes the job by cleaning the stray paint off of the threshold weather strip.
Steve lays out the rabbet joints for the front door casing.
Setting the cutting depth of the router straight bit.
Cutting the rabbet joint with the router.
Front door casing installed. This completed the last door casing inside; now onto the window casings.
Two small additions completing the master closet door install; door knobs and magnetic door catches.
We completed two small window casings as a test for the remainder of the windows. We cut the bottom casing long similar to the top casing, but we shortened the bottom by 2 inches compared to the top casing. We thought this gave the window a distinction between the top and bottom for a world that doesn't seem to know up from down ;-) We hope this helps.
Gari prepares the big window for casing by cleaning all the drywall mud off of the window jambs.


 B
B