The remarkable thing for us on this second day with framing carpenters on the project site, was that LVE, the local electric coop also came calling to install the primary electric service conductor and the pad transformer. Project traction is happening at Eagle View!
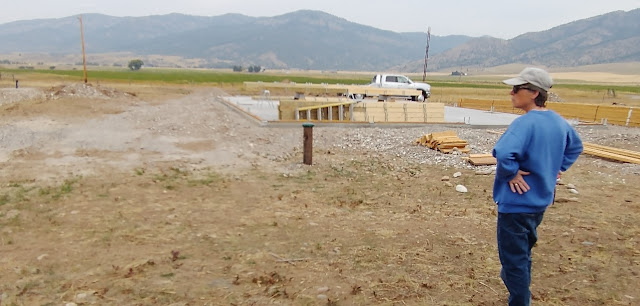
Below Gari observes the Bucket Crew work at the overhead lines. When we arrived onsite at 9AM the LVE crew was already working.
 They had already transitioned from the 2.5" electrical conduit we buried last week, to a galvanized conduit they installed that morning. They made the transition with a piece of flexible conduit.
 We captured a shot of the primary conductor; insulation says it's 3 AWG aluminum. It is a single conductor with a surrounding ground. The overhead power lines at the street carry 3-Phase 7,200 Volts and that is sent down this primary conductor to the transformer! The transformer will separate out two 120 volt lines that are 180 degrees out of phase to provide 240 volts across the two hot lines where needed in the Shop and home.
 While the Bucket Crew was waiting at the pole, the Transformer Guy is sending a string down the buried conduit to the Bucket Crew. He did this by placing a balloon tied to the string into the conduit, now he is using his leaf blower and paying out the string as the balloon blows through the buried conduit. That took about 2 minuets.
 Meanwhile, the framing crew is raising the columns they set up with joist hangers on day one. Looks like they already have eight columns up.
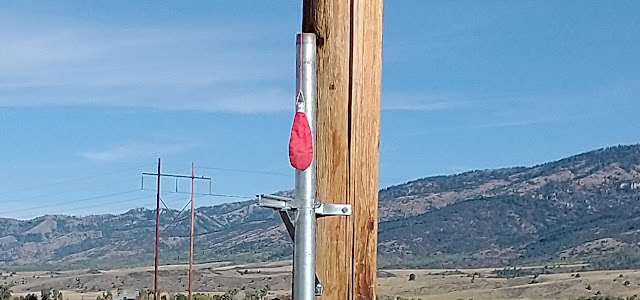
 Look over there at the pole, there's the balloon that came through the buried conduit!
 The Transformer Guy ties a long and narrow towing strap to the string at the transformer and the Bucket Crew pulls the string to retrieve the stronger pulling strap at the pole. The Bucket Crew then secured the primary conductor to the towing strap and the Transformer Guy, with a little help, will pull the conductor back through the buried conduit to the transformer.
 Transformer Guy preparing to start pulling the strap. He's rigged the strap through a pulley directly over the conduit so it directs the pull force straight out of the buried conduit.
 Bucket Crew feeds the conductor from the spool into the conduit as Transformer Guy pulls it through.
 Jace from the Bucket Crew assists Transformer Guy with the last part of the pull. You can see the conductor coming out of the conduit just now below. It is connected to the pulling strap with a Chinese Finger Grip.
 Next, Transformer Guy drives an 8 ft copper ground rod with his electric jack hammer. That is the way to do that. It took all of 30 seconds! Brrrrrrrrrrrrrrip!
 Bucket Crew extends the conduit up to the top of the pole.
 Meanwhile back at the transformer, Transformer Guy terminates the primary conductor .
 Lastly, Transformer Guy terminates the grounding and will be finished there. The white plastic insulated terminals are the secondary hot legs 1 & 2 and are what we will send to the meter base that we will hang on the exterior Shop wall next spring.
 Back at the pole, Bucket Crew works the cut-in assembly with the fiberglass pole tool. You can't be too careful around 7,200 Volts!
 Gari re-chinks the newly installed pad transformer with a little more 3/4 gravel.
 Back at the Shop job area, 2x6" wall girts begin to go in on the east wall.
 A little acrobatics go along with wall girt installation!
 You may wonder how they raise the 16 ft 6x6" columns.... the old fashioned way, with brute strength!
 Then hang on tight while it is steadied and lined up!
 Quick, get the long level on it and tack it in place! There are 19 of these columns in this design.
 End of day two of framing; two walls started with girts more than half way up. A very good day.


